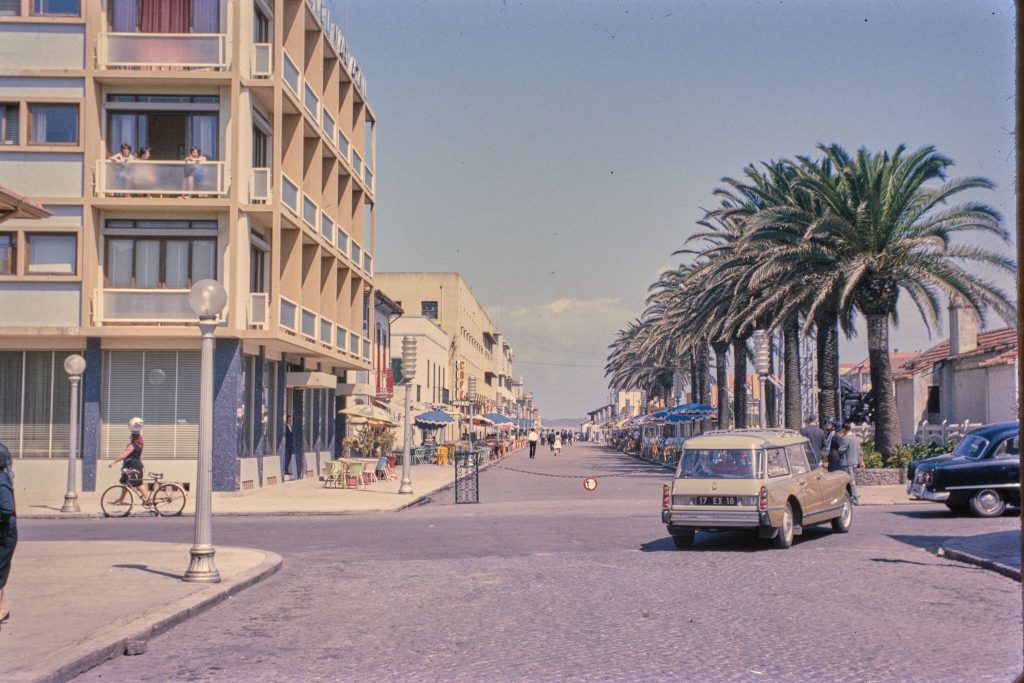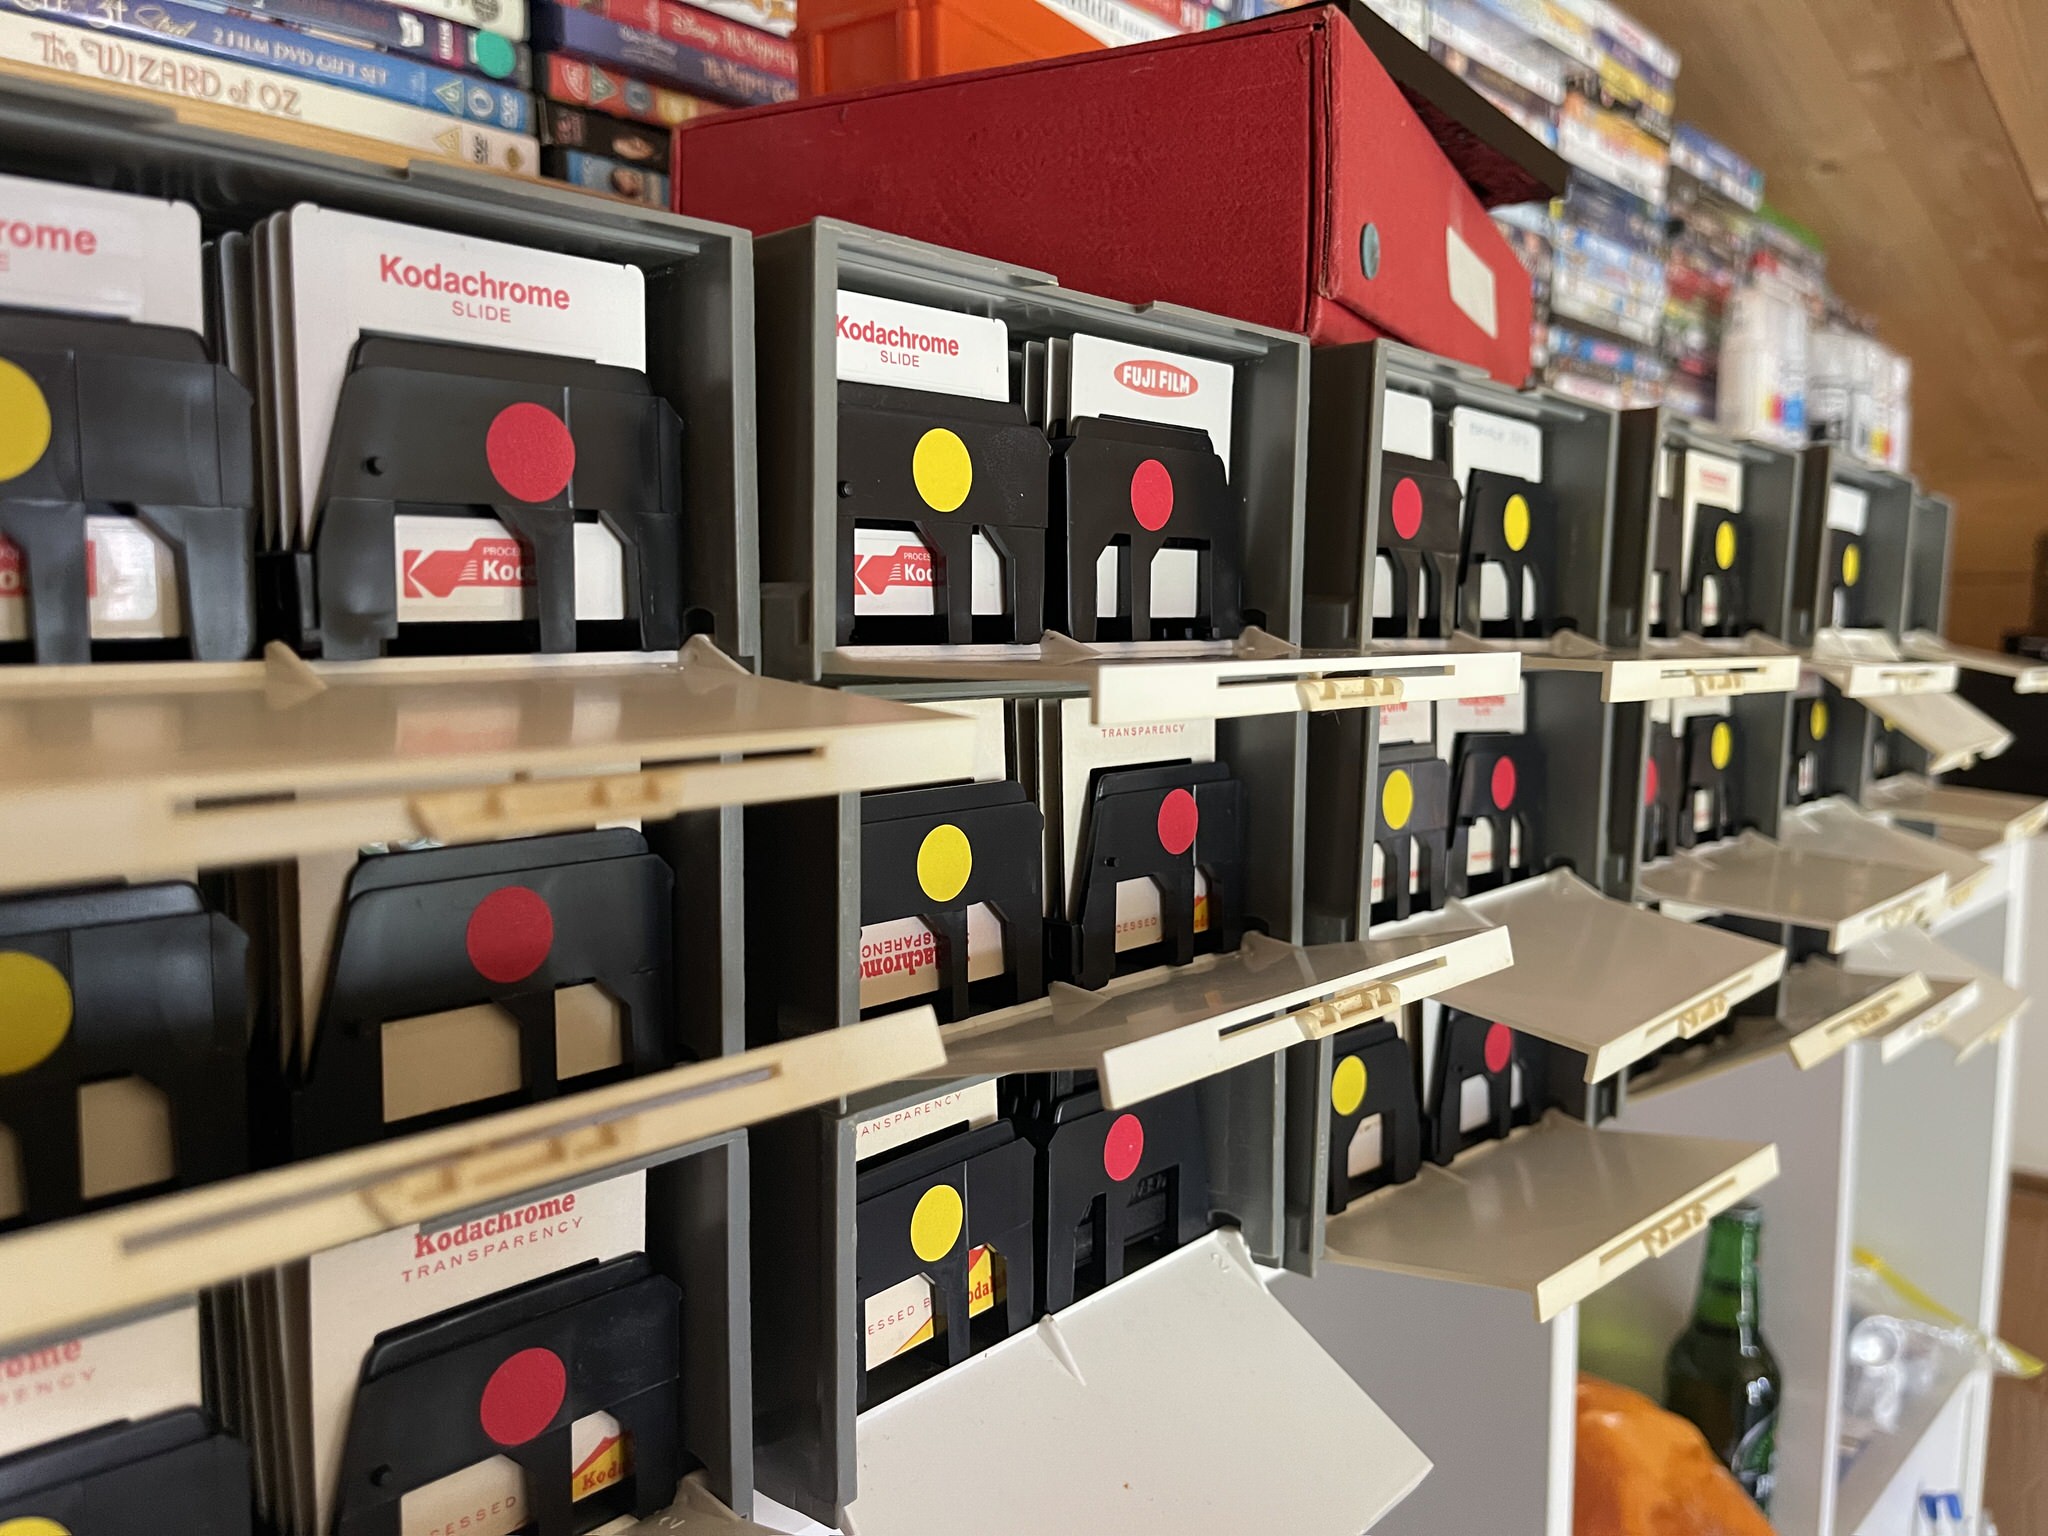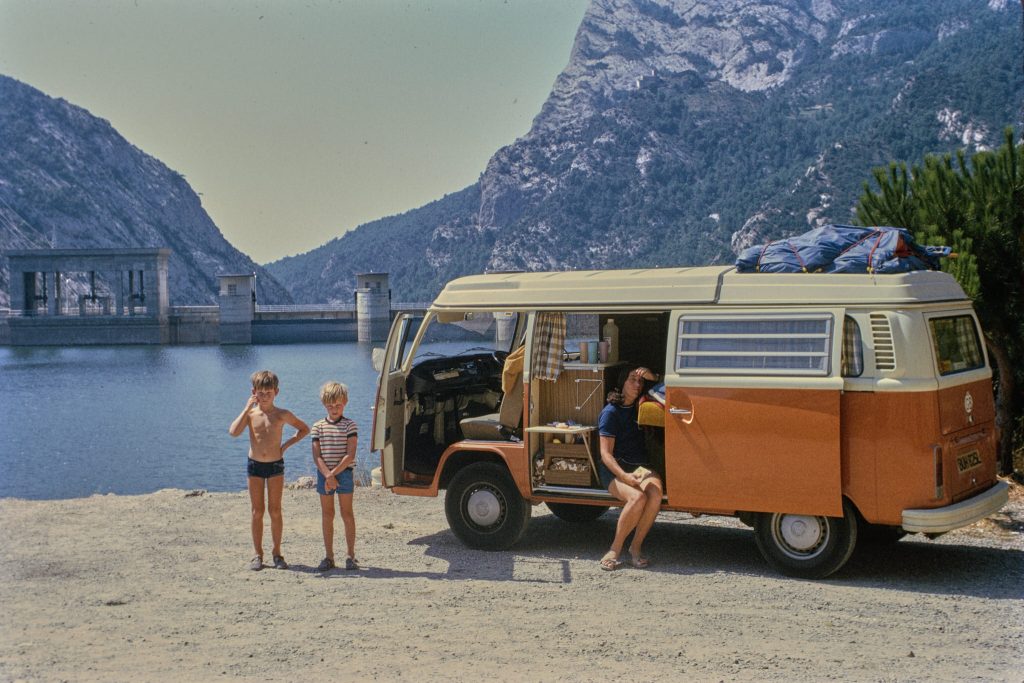
In the 60s, 70s & 80s, my dad took many photos using Kodachrome, Fuji & AGFA slides. These were mostly long summer vacations in Europe. Setting off from South Wales, travelling to the Mediterranean through France, Germany & Switzerland towards Spain & Italy.
The slides sat in boxes for decades, so I decided to digitalise these slides with a view to printing a photo book for my parents. Arranging these into collections in Capture One and sharing them online with my wider family was an added benefit.
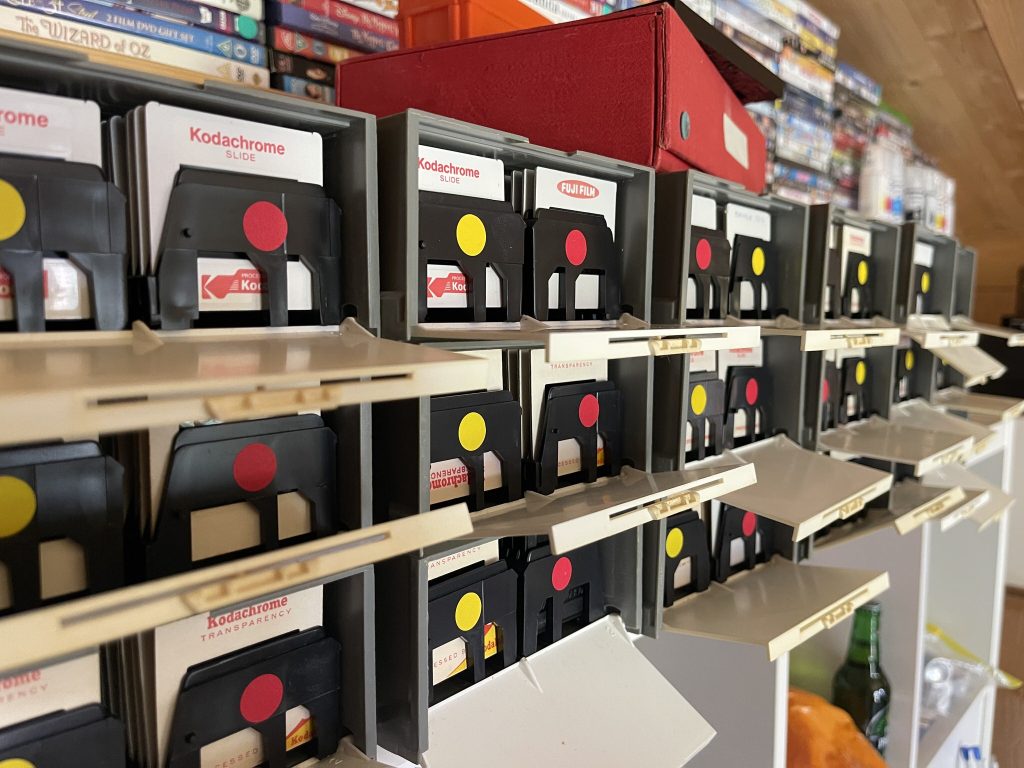
There were a few options for the process.
- Send the boxes of slides to a specialist company – expensive for high volumes.
- Buy a quality slide scanner with specialist software.
- Use a DSLR or mirrorless camera with Capture One or Lightroom.
Research online led me to conclude that I could achieve a quality similar to expensive scanners such as the Epson Perfection V800. The deciding factor was the time it would take to complete the job. The scanners take upwards of 1 minute per slide, whereas photographing a slide takes just a few seconds. With around 2000 slides to scan and review, I wanted a sustainable process. Furthermore, the TIFF files produced by a scanner would take up more disk space than the camera’s RAW files.
I already owned most of the equipment required. I just needed a slide viewer light panel, copy stand and macro lens.
Before buying the macro lens, the most expensive item on my list, I quickly tested it with existing Fuji lenses (18-55, 35 f2, 50f2) and the MCEX-16 extension tube. Image quality was good in the centre but not so sharp towards the edges.
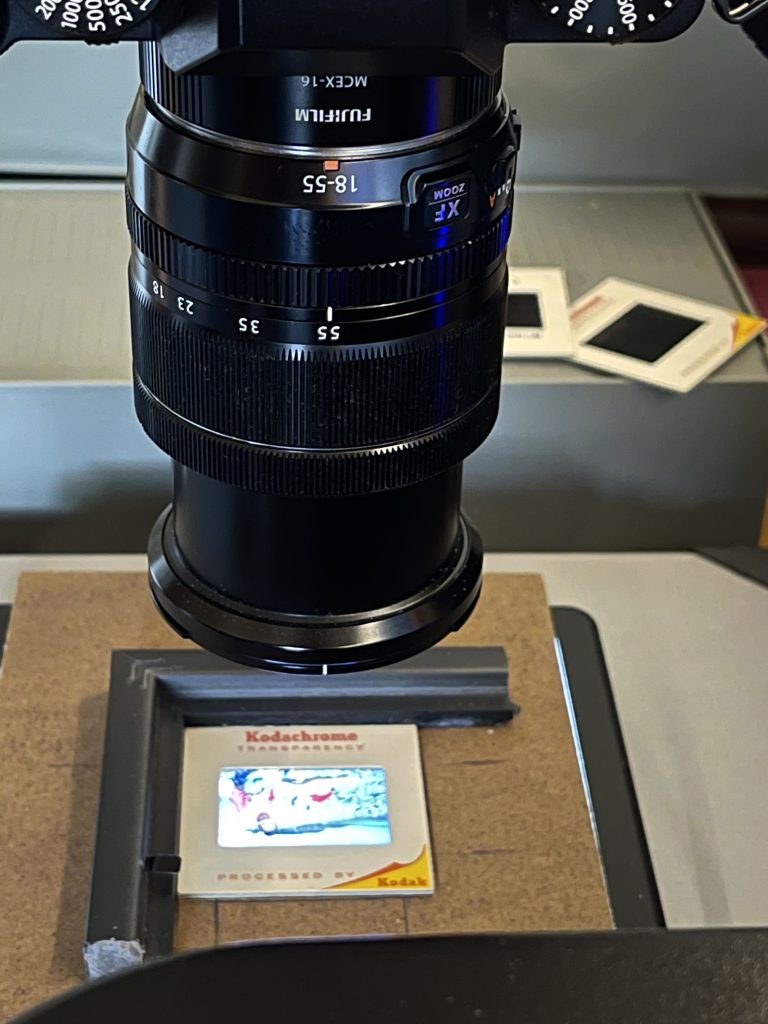
In search of better quality, I discovered the 7artisans 60mm macro, which was well regarded in the digital scanning community. It only provides manual focusing, which is fine for scanning slides or film, where the distance between the subject and the camera is constant.
List of equipment used
- CS 320 Small Copy Stand/Rostrum 32 CM Max Height
- Rybozen Ultra-Thin LED Light Panel
- Fuji X-T3
- 7artisans 60mm F2.8 Mark II Macro
- USB C cable
- Mac mini
- Capture one
- Slide holder made from a cheap small picture frame
- Spirit level
- Blue tack to secure light panel
- Black Duck Tape – masking light spill
- Rocket Blower for dust removal
- Test slide for focusing.
- Remote shutter release
- Self-adhesive labels.
Scanning Process
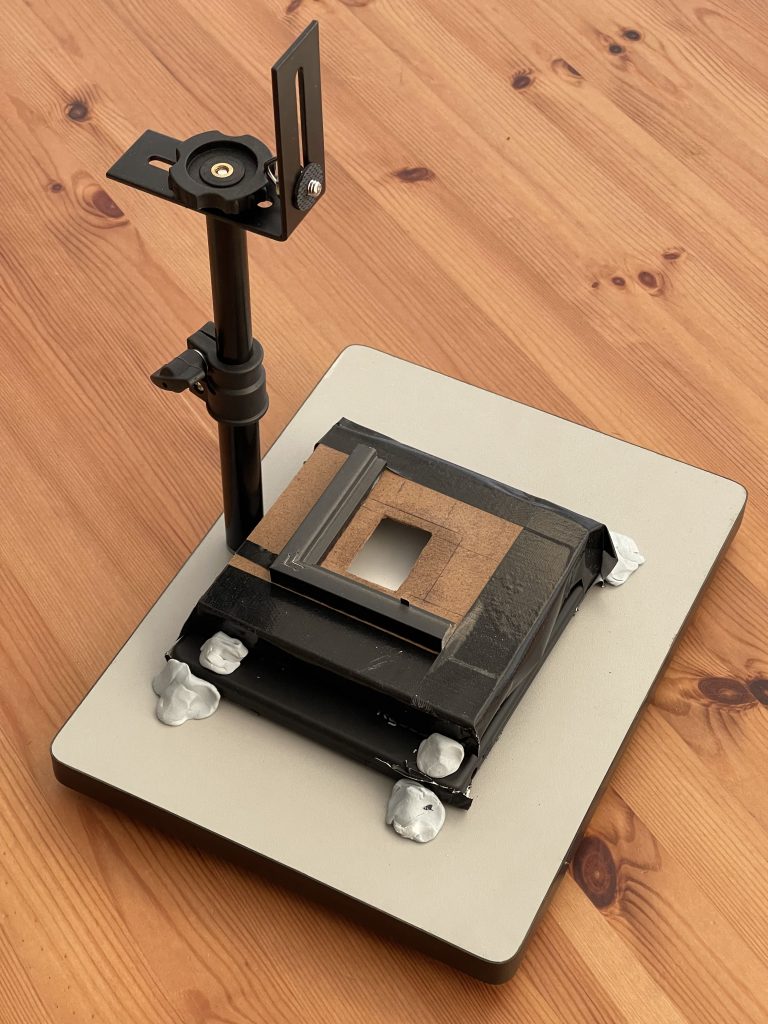
The first step was to assemble a base for lighting and positioning the slides. The base had three components: the copy stand, light panel & homemade slide holder.
For the slide holder, I cut off the corner on a cheap Primark photo frame to make an L-shaped right angle for positioning and aligning each slide accurately under the camera. This frame is glued to a piece of hardboard with a ‘slide-sized’ hole cut in the middle.
This was spaced roughly 1 cm above the light panel with some Duck tape and packaging that came with the light panel. The 1 cm gap, combined with the shallow depth of field on the macro lens, prevents the build-up of dust on the light panel from being visible in the final image. The frame is then secured to the copy stand with blue tack & Duck tape.
Next, I dialled in some settings on the X-T3 :
- Connections mode: USB TETHER SHOOTING AUTO
- Manual focus
- Focus Peak Highlight
- Image Quality: RAW
The camera was attached to the bracket on the copy stand, pointing downwards directly above the slide holder. The next step was to connect the USB-C cable to the camera and Mac Mini for tethered shooting in Capture One 23. I also connected a remote shutter release device rather than using the FUJIFILM Camera Remote App.
After switching on the camera and light panel, I created a custom white balance on the camera by shooting the light panel without a slide. This gave a good starting point for further adjustments.
I adjusted the distance between the camera and the slide to fill the frame as much as possible, centring the slide by adjusting the frame’s position. Next, I double-checked that the camera was level with the base using a small spirit level.
With the aperture around f4, I placed a test slide in the holder and manually focused the shot. The test slide was just some text printed on white paper. This saved searching for a slide with a sharp image across the frame.

Once focussed, I changed the aperture to f8 to increase the depth of field. The camera ISO was set to 160, allowing detail to be pulled from the shadows without introducing noise. The shutter speed was around 1/15s which was good for well-exposed slides. This was occasionally increased or decreased when necessary.
Capture One Settings
In Next Capture Adjustments, ‘Copy From Last’ automatically applied all adjustments and metadata from the previous shot.
Next Capture Location allowed me to use a new destination folder to separate these scans from my regular photos. I created an automatic file naming convention in Next Capture Naming, to make finding the slide for future reference easy. This consisted of the family name, slide box number, tray colour, plus an incremental counter (eg Wiggins Scan A01 Yellow 001). After scanning, I labelled the slide box with a self-adhesive sticker.
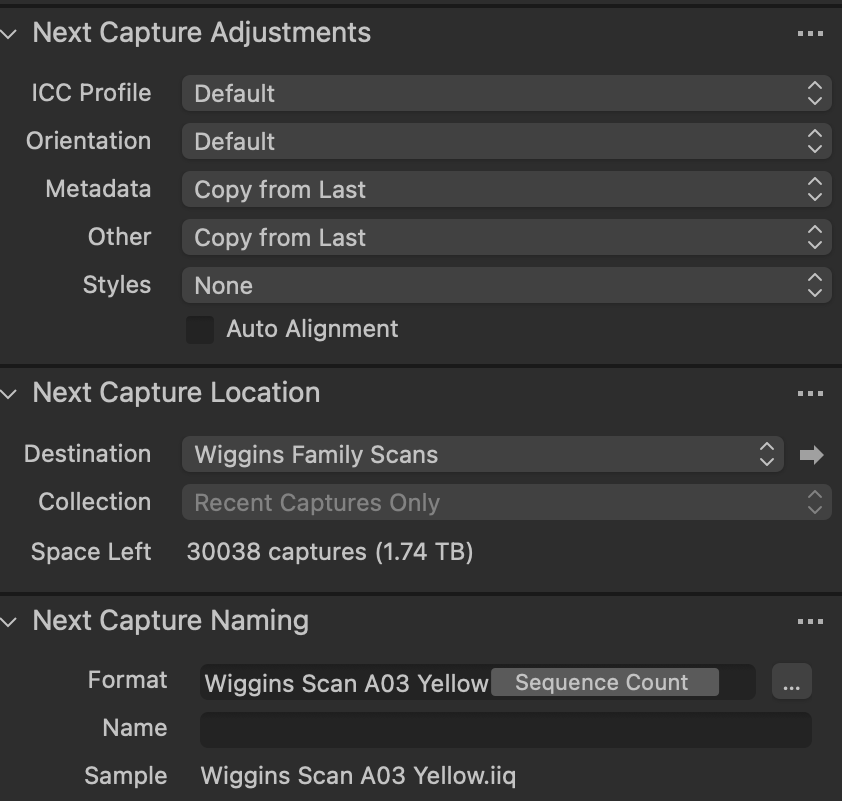
Rotation and flip were set to flip the image horizontally to cater for the fact we are shooting the back of the slide.

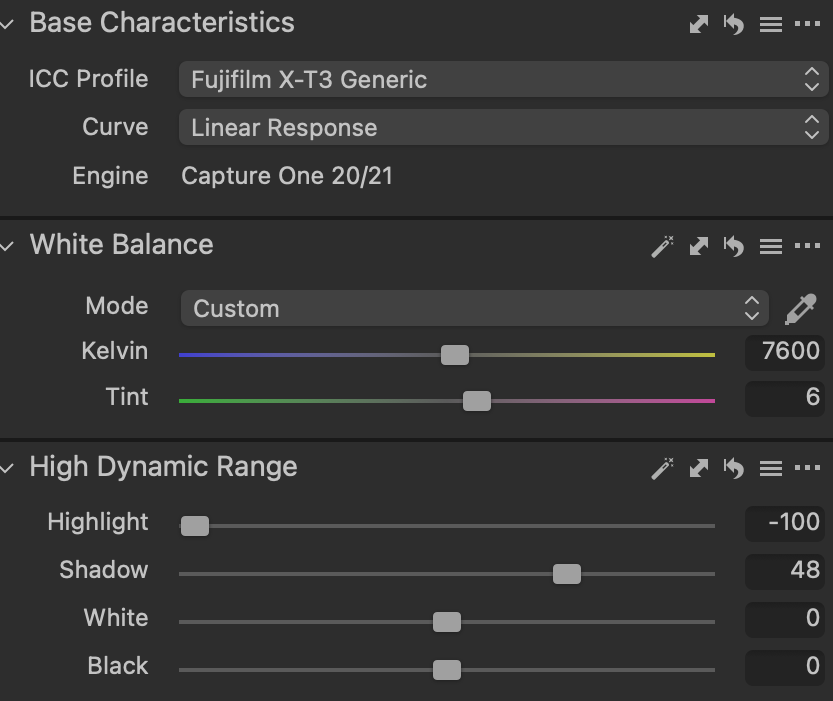
Base characteristics were set to linear response to avoid any style being applied. White balance was warmed up, and the dynamic range increased.
Shooting
These are the steps I took to scan a batch of slides.
- Arrange the slides in number order with the same orientation.
- Apply default keywords for each batch of slides in Capture One metadata. I used keywords for year & month (printed in the slide), slide brand (Eg Kodachrome), location, event etc.
- Remove dust from the front and back with a rocket blower.
- Ensure that the emulsion side of the slide is facing up towards the camera.
- Increase or decrease the shutter speed to address exposure issues. It’s better if you can keep ambient light in the room to a minimum when shooting with low shutter speeds like 1/15s
- Shoot using the shutter release.
After I’d finished shooting, I exported the images from Capture One to JPEG Mini, and transferred them to the iPad.
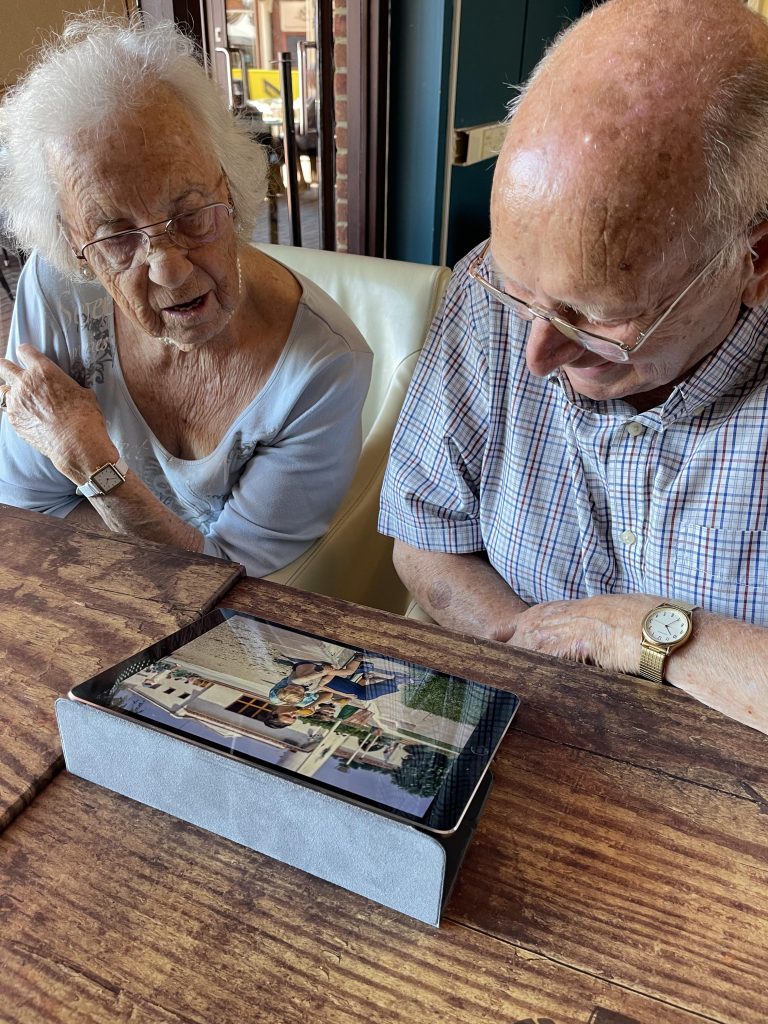
Mum & dad looking through some of the photos on the iPad.
Some sample images…
